Sou o Leo Liang, da Guangzhou ClipClop E-Bike Technology Co. Ltd, e basicamente vivo no mundo de bicicletas elétricas off-road. Se você tem uma loja, uma frota de aluguel ou administra distribuição, você já sabe: quando as bicicletas ficam quebradas, o dinheiro simplesmente sai lentamente. E honestamente, nada tira uma bicicleta de terra grossa do uso mais rápido do que rodas e pneus que ninguém se importou em manter.
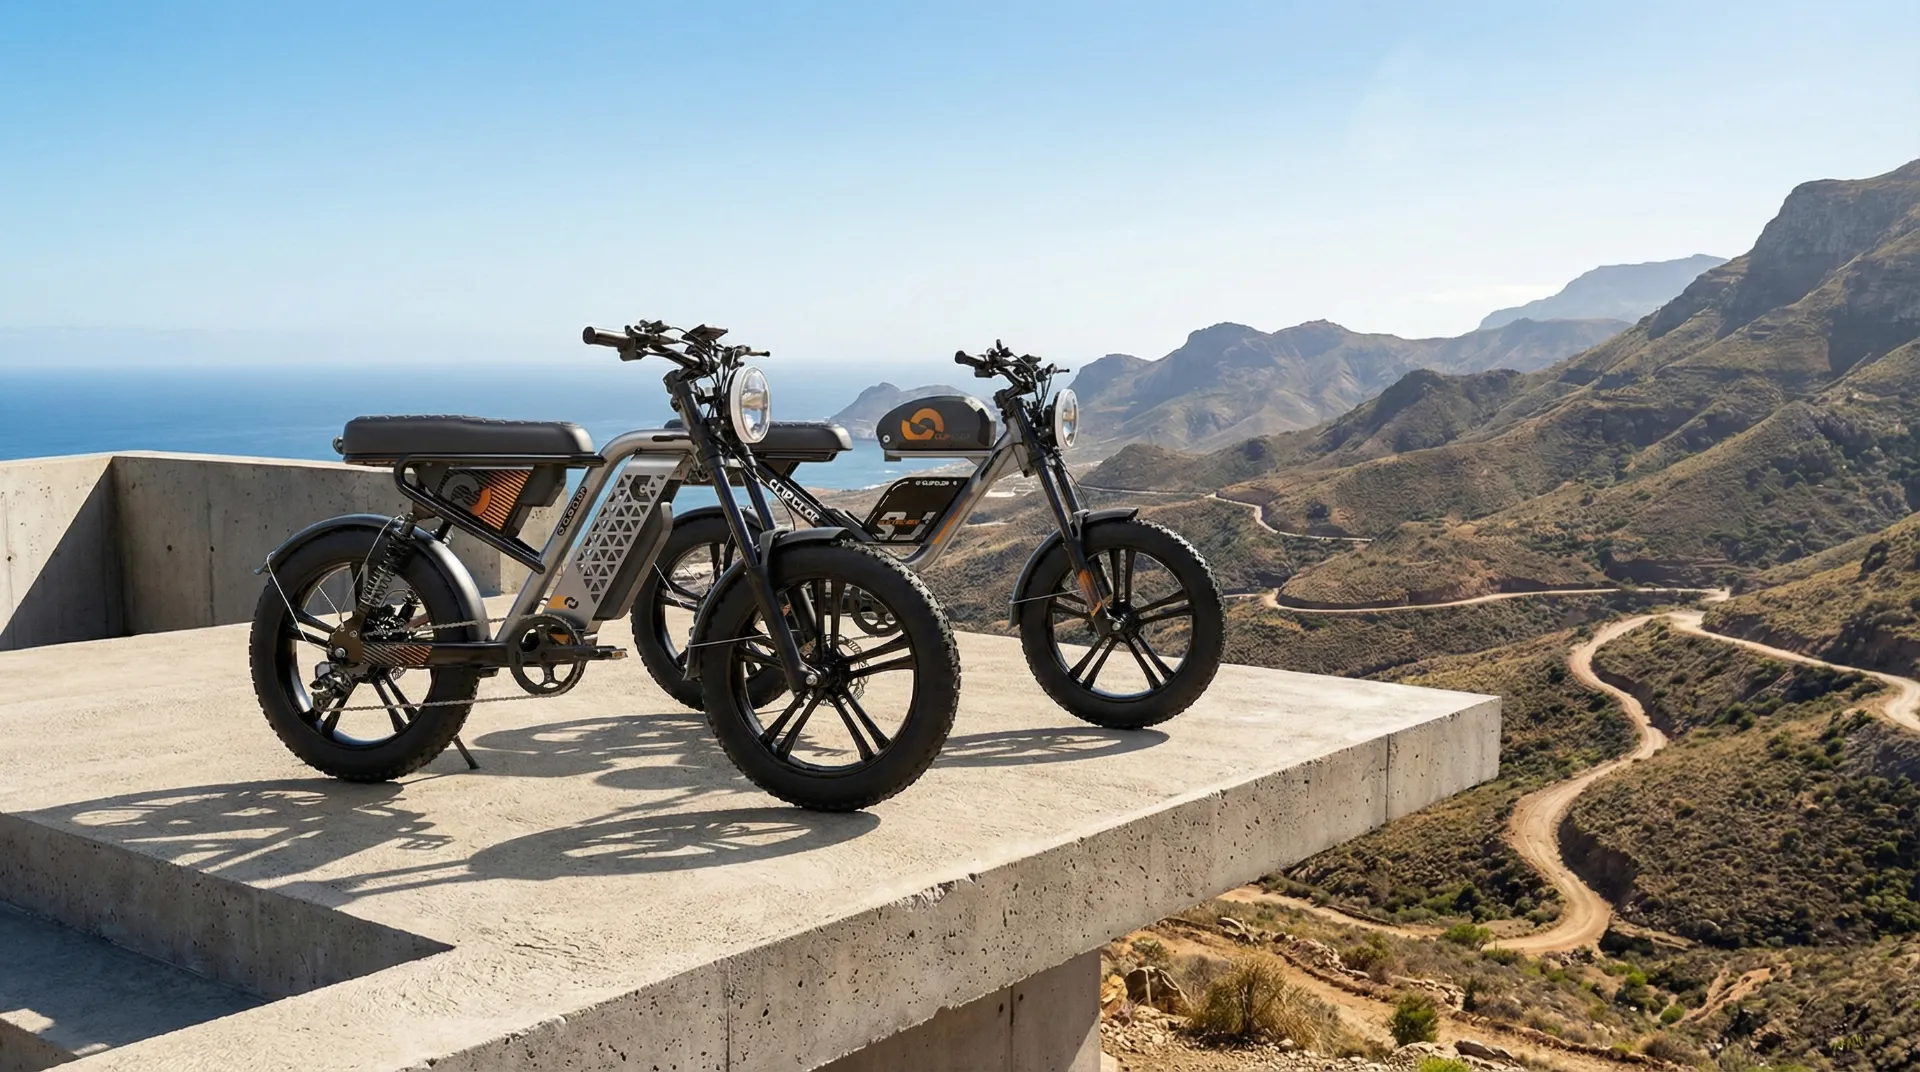
Essas bicicletas não são brinquedos; são máquinas chunky pequenas construídas para serem abusadas de boa. Leve a nossa ClipClop Model L2: motor sem escovas 48V 750W, quadro de alumínio 6061, até 160kg/350lbs de carga, rodando em pneus fatos 20×4.0. Em papel parece invencível, mas as únicas partes que realmente tocam o chão são os pneus e rodas, e elas absorvem todos os impactos, fricção e decisões erradas. Se você as ignora, você está basicamente queimando seu próprio estoque.
Então, nesse guia, vou além do conselho comum de “verifique os pneus às vezes”. Vou compartilhar o que vejo em projetos B2B, além do que mecânicos e entusiastas de bicicletas no YouTube repetem. Vamos falar sobre pressão de pneus em PSI/bar para diferentes cenários, configurações tubeless, tensão de radiais, fita de rolete, eixos, rolamentos e o que realmente funciona para frota. Vamos nós e mantenha cada bicicleta de terra grossa funcionando, não apenas bonita em fileira.
Por que a Pressão do Pneu é Tão Importante em uma Bicicleta Elétrica de Terra Grosa
Se você administra uma frota e não entende realmente a pressão do pneu, você está voando cego. Pneus grossos como 20×4.0 carregam muita pressão, então eles atuam quase como suspensão integrada. Isso é ótimo para conforto, mas também significa que PSI/bar se torna uma ferramenta de ajuste super poderosa. Erre e você não estará lidando apenas com uma cinta molhada — verá desgaste mais rápido, mais perfurações e até pior autonomia de bateria porque a resistência de rolamento aumenta.
Pense na “pressão certa” mais como uma faixa do que um número mágico. Depende do peso total (ciclista mais carga), terreno e até temperatura. Uma bicicleta carregada com 160kg/350lbs precisa de mais pressão do que um ciclista leve pedalando vazio. Em asfalto, geralmente sugiro ir mais próximo da faixa superior, em torno de 20 PSI / 1,4 Bar, para que a bicicleta se sinta rápida, eficiente e não gaste bateria subindo suas próprias pneus.
Assim que você sai do asfalto, a regra inverte. Para off-road, areia ou neve, vou reduzir a pressão para cerca de 5–10 PSI / 0,3–0,7 Bar, para que o pneu se espalhe mais e ganhe aderência. Você obtém melhor aderência, mais flutuação e os ciclistas sentem mais confiança. Muitos blogs de off-road adoram experimentar: ajustam, dão uma volta, ajustam novamente, e basicamente “ajustam” aderência e conforto em vez de adivinhar.
Para um operador B2B, seu trabalho real é transformar tudo isso em algo que seus funcionários e clientes não pensem demais. Uma dica simples que gosto é colocar um cartaz de pressão diretamente no quadro ou no cartão de aluguel: “Pavimentado: 15–20 PSI”, “Trilhas Mistas: 10–15 PSI”, “Areia/Neve: 5–10 PSI”. A maioria das pessoas não lê o manual, mas vai olhar para um adesivo enquanto inflata. Faça isso óbvio e infalível.
Qualquer cartaz que use, a parte não negociável é verificar a pressão regularmente com um medidor adequado, não apenas esfregar o pneu com o polegar e dizer “parece bom”. Essa verificação rápida antes do aluguel ou antes da venda elimina dois grandes problemas: bicicletas desinfladas e lentas que parecem quebradas, e perfurações de pinça onde o tubo bate na roda em impactos. Muitos funcionários de lojas de bicicletas dizem a mesma coisa: 30 segundos com um medidor economizam 30 minutos de reparo.
Configurações Recomendadas de Pressão para Bicicletas Elétricas de Terra Grosa: Um Guia para B2B
| Cenário de Uso / Terreno | Pressão Recomendada (PSI) | Pressão Recomendada (BAR) | Benefício Principal para Frota e Ciclista |
| Estradas Pavimentadas & Comutação | 20 – 25 PSI | 1,4 – 1,7 BAR | Eficiência Máxima: Minimiza a resistência de rolamento, estendendo a autonomia da bateria e maximizando a velocidade. |
| Trilhas Mistas & Hardpack | 12 – 18 PSI | 0,8 – 1,2 BAR | Desempenho Balanceado: Oferece uma mistura de boa aderência para curvas e resistência suficiente para velocidade. |
| Areia, Lama ou Neve | 5 – 10 PSI | 0,3 – 0,7 BAR | Aderência Máxima: Cria a maior possível superfície de contato para “flutuação” e aderência superior em superfícies soltas. |
| Carga Pesada / Capacidade Máxima | +2-4 PSI para a configuração base | +0,1-0,3 BAR para a base | Estabilidade e Segurança: Previne o "squirm" do pneu e reduz o risco de perfurações de pinça sob cargas pesadas (até 160kg/350lbs). |
Sua Frota Precisa Mesmo Ir Tubeless?
Tubeless é um tema onde as pessoas ou ficam empolgadas ou roçam os olhos, mas para frota comercial, a matemática frequentemente faz sentido. Em uma configuração tubeless, você remove o tubo interior e sela o pneu diretamente na roda, então o ar fica entre o pneu e a roda, em vez de dentro de um tubo. Essa única mudança reduz drasticamente as perfurações e também permite usar pressões mais baixas sem se preocupar constantemente com perfurações de pinça.
O “truque mágico” real é o selante líquido dentro do pneu. Quando uma espinha ou pedaço de vidro perfura um furo pequeno, o ar escapando puxa o selante para aquele local, e o látex no selante coagula e pluga rapidamente. A maioria das vezes, o ciclista nem percebe que algo aconteceu; eles só continuam pedalando. Para frota lidando com detritos, espinhas ou trilhas íngremes, esse comportamento auto-cicatrizante é honestamente uma mudança de jogo, porque a bicicleta não volta em um caminhão.
Claro, ir tubeless não é tão simples como “retirar o tubo e esperar”. Você precisa de rodas e pneus prontos para tubeless, válvulas tubeless, fita de rolete adequada e selante. O processo é um pouco fresco: limpe a roda com cuidado, coloque a fita de rolete apertada sobre os orifícios das radiais, instale a válvula, monte o pneu, coloque o selante e depois ajuste o anel com um forte jato de ar. A primeira vez será lento; após algumas rodas, torna-se apenas uma tarefa de oficina.
Da minha experiência, se você é um parceiro OEM ou distribuidor grande, é muito mais fácil especificar peças prontas para tubeless da fábrica em vez de converter depois. Os ciclistas também sentem a diferença: eles podem usar pressões mais baixas com segurança, então o pneu se ajeita em rochas e raízes em vez de saltar sobre elas. Blogueiros que andam muitas trilhas dizem a mesma coisa — tubeless parece mais estabilizado, mais “colado” ao chão, e isso se traduz em menos reclamações e mais sorrisos.
Como Tensão de Radiais e Alinheio de Rodas Mantêm Suas Bicicletas Vivas
Rodas de bicicletas elétricas de terra grossa têm uma vida difícil. Entre o peso do ciclista, o quadro e bateria pesados e o motor hub de 70Nm em algo como a ClipClop L2, cada roda é atingida de todos os lados. Se você ignora a tensão de radiais e o alinheio, você está basicamente esperando por uma falha de roda cara no pior momento possível. Para uma frota, isso não é apenas irritante; é risco de receita e risco de segurança.
Uma roda não é apenas um círculo de metal; é uma estrutura equilibrada onde todas as radiais puxam o quadro para dentro com tensão controlada. Quando essa tensão é uniforme, a roda permanece forte e reta. Mas assim que algumas radiais soltam, o quadro pode começar a balançar de lado para lado ou subir e descer. Essa oscilação pode começar como apenas um ruído de freio irritante, mas com o tempo força outras radiais a suportar mais carga do que deveriam, o que é quando as radiais começam a quebrar.
Uma maneira super simples de verificar a tensão de radiais é pluck cada radial como uma corda de violão. Todas deveriam fazer um som semelhante. Uma radial que soa abafada ou muito mais baixa que as outras geralmente está solta. Para uma grande frota ou loja, comprar um tensiômetro de radiais vale a pena; ele fornece números reais e permite que seus técnicos trabalhem com a faixa do fabricante em vez de adivinhar. Muitos construtores de rodas profissionais e blogs adoram isso.
Alinhar uma roda significa ajustar as porcas da radial para que o quadro fique reto novamente, tanto lateral quanto vertical. Um stand de alinheio dedicado é ideal, claro, mas para ajustes leves, você pode virar a bicicleta de cabeça para baixo e usar correias ou um marcador fixo no quadro como referência. Sou fã de adicionar uma verificação mensal de “Radial & Alinheio” ao seu cronograma de manutenção. É chato, mas previne drama como colapsos de rodas súbitas ou clientes voltando com rodas dobradas.
Fita de Rolete: A Peça Barata que Pode Salvar Você Muitos Problemas
Escondida dentro de cada roda de bicicleta padrão está uma peça borda mas crucial: a fita de rolete. Seu único trabalho é cobrir os orifícios das radiais e as bordas afiadas na parte interna da roda para que o tubo não se corte. Sem uma fita de rolete boa, o tubo inflado pressiona essas bordas e corta a si mesmo lentamente. Para o ciclista, parece mais um “perfuração misteriosa”, e você é culpado por vender tubos ruins.
Com o tempo, fitas de borracha ou plástico básicos podem secar, se moverem ou até rachar. Assim que se deslocam do centro, elas deixam de cobrir todos os orifícios das radiais, e é quando começam a aparecer perfurações repetidas na mesma roda. Qualquer vez que uma bicicleta entra para reparo de perfuração, gosto de tratar como uma oportunidade gratuita de inspeção da fita de rolete. Retire o pneu e o tubo completamente, verifique a fita com cuidado e, se vir algum espaço, rachadura ou área embriagada, substitua-a.
Para frota, atualizar a fita de rolete é uma dessas pequenas custos que rendem rapidamente. Muitos mecânicos e blogs recomendam fita de nylon adesiva ou durable porque gruda na cama da roda e não se move ao trocar pneus. Se você está usando ou planeja tubeless, precisará de uma fita de rolete especial apertada para tubeless que cubra os orifícios das radiais e selar a roda. Levar tempo no instalar: estique-a bem, sobreponha levemente e evite dobras, para não perseguir vazamentos depois.
Eixos e Rolamentos: A Coisa que Você Não Vê mas Deve se Importar
Pneus e radiais recebem a maioria da atenção porque você pode vê-los, mas os hubs da roda — e os eixos e rolamentos dentro deles — são como o coração do conjunto. Em uma bicicleta de terra grossa com motor hub poderoso, essas pequenas partes lidam com carga e rotação constantes. Se você ignora o serviço regular de eixo e rolamentos, você acaba com rolamento, atrito e, eventualmente, um hub parafusado que é um pesadelo de consertar e não barato.
Rolamentos, sejam eles cartuchos selados ou bolas soltas, permitem que a roda gire livremente ao redor do eixo com mínimo atrito. Água, lama e poeira eventualmente passam pelas selagens, contaminam a gordura e desgastam as superfícies de rolamento. Um sentimento raufo ao girar a roda à mão é um sinal de alerta inicial, assim como ruídos de rolamento. Outro teste que uso: segure o quadro e mova lateralmente; qualquer joginho não causado por radiais geralmente significa problemas de rolamento ou ajuste de hub.
Para uma frota de aluguel ou bicicletas de uso pesado, recomendo pelo menos uma verificação básica de hub a cada mês. Não precisa ser uma desmontagem completa — apenas gire, escute e sinta o joginho. Uma vez por ano, ou duas vezes por ano para bicicletas muito abusadas, vale a pena fazer um serviço completo de hub. Isso significa retirar a roda, desmontar o hub, limpar a gordura antiga, inspecionar por sulcos ou danos e reabastecer com boa gordura de bicicleta impermeabilizada. Para rolamentos selados, você precisará expulsar os antigos e colocar novos, o que é mais técnico, mas restaura o sentimento de “nova bicicleta”.
Construindo um Sistema Inteligente de Reparo de Perfurações para Sua Frota
Mesmo se você for obcecado por manutenção, algumas perfurações são inevitáveis. Para um setup B2B, o truque não é chegar a zero perfurações (isso é irrealista), mas ter um sistema simples e consistente que devolve as bicicletas ao serviço rapidamente. O plano será diferente para configurações tubadas versus tubeless, e também se você está na oficina ou lidando com uma quebra em uma trilha ou rua.
Para tubos internos tradicionais, a solução clássica da oficina ainda é um kit de reparo. Os adesivos de colagem são ok para reparos rápidos na estrada, mas se você quiser confiabilidade a longo prazo, um kit de reparo vulcanizante com cola é melhor. O processo é relativamente simples: encontre o furo, rasure a área com lixa, espalhe uma fina camada de cola, espere até ficar aderente e pressione o reparo firmemente. Na prática, muitas lojas de aluguel busy apenas trocam o tubo por um novo e colocam os perfurados em um bin para reparos em lote quando estiverem mais calmos.
Para reduzir o número de perfurações em configurações tubadas, você pode instalar liners de pneu entre o pneu e o tubo ou injetar selante líquido, como FlatOut ou Slime, diretamente no tubo. Eles se comportam semelhantemente ao selante tubeless e selam pequenas perfurações ao ocorrer. Para pneus tubeless, a maioria das perfurações que não selam sozinhas é consertada com “plugues” ou “bacon strips”, onde você empurra uma fita de borracha adesiva no furo usando uma ferramenta especial. Muitos blogs de trilhas adoram carregar tanto um kit de plugue quanto uma bomba mini sempre. Para frota, manter tanto kits de reparo de tubo quanto kits de plugue tubeless na oficina significa que sua equipe pode lidar com qualquer coisa que aparecer.
Obtendo Mais Vida Seus Pneus Fatos
Para você como distribuidor, revendedor ou operador de aluguel, esses grandes pneus fatos são um custo recorrente maior, não apenas decoração. O objetivo não é mimar as bicicletas para que ninguém as use com força; é ser inteligente com a manutenção de pneus B2B para que você não substitua a borracha antes do necessário. Isso geralmente depende de configurar tudo certo desde o dia um, verificar regularmente e garantir que os ciclistas não destruam os pneus sem saber.
A inflamação incorreta é o principal assassino de pneus que vejo. Use-os muito moles e as laterais flexam excessivamente, levando a rachaduras e desgaste rápido das bordas. Use-os muito rígidos e o sulco central desgasta rapidamente e o pneu torna-se mais vulnerável a danos em impactos fortes. Uma verificação rigorosa de pressão de pneus antes de cada uso em PSI/bar, feita com um medidor adequado, é honestamente o hábito mais eficaz que você pode construir. E armazenar bicicletas em ambiente fechado, longe do sol forte e ambientes ricos em ozônio, mantém a borracha secando e rachando.
Inspeções regulares atuam como seu radar de alerta precoce. Treine sua equipe para look por sulco central achatado, botões quadrados, cortes pequenos e fios começando a aparecer. Faça um hábito de remover vidros ou espinhas antes que eles passem pelo forro. Para frota de aluguel, uma dica inteligente que muitas lojas usam é rotacionar pneus: mova um pneu dianteiro menos usado para traseiro, já que o traseiro desgasta mais devido às forças de tração. Pare esse com uma breve orientação antes do aluguel informando aos locatários para não fazer freio de atrito ou travar a roda traseira em todos os lugares, e você se surpreenderá com o quão mais longos seus estoque de pneus duram. Com o tempo, todas essas pequenas ações somam silenciosamente para grandes economias e menos momentos de “bicicleta fora de serviço”.
Perguntas Frequentes (FAQ)
Q1: Com que frequência devo verificar a pressão do pneu na minha frota de bicicletas elétricas de terra grossa?
Recomendamos fortemente verificar a pressão dos pneus PSI/bar antes de cada utilização. Para um negócio de aluguer, esta deve ser uma parte fundamental da sua lista de verificação pré-aluguer. Os pneus largos têm um grande volume de ar, mas ainda podem perder pressão com o tempo, e mesmo uma pequena queda pode afetar significativamente o desempenho e aumentar o risco de furos. Uma verificação semanal é o mínimo absoluto para bicicletas em armazenamento ou com baixa utilização.
Q2: Vale a pena investir numa configuração sem câmara para uma frota de aluguer?
Para a maioria das operações de aluguer, especialmente em áreas com terreno acidentado ou detritos urbanos, uma configuração sem câmara é um excelente investimento. O custo e esforço iniciais de conversão são superados pela redução significativa no tempo de inatividade e nos custos de manutenção associados a pneus vazios. A natureza auto-selante dos sistemas sem câmara melhora drasticamente a fiabilidade e a satisfação do cliente, tornando-a uma característica fundamental para um cuidado premium com pneus B2B.
Q3: Quais são os principais sinais de que as rodas da minha bicicleta elétrica precisam de centralização?
O sinal mais óbvio é uma oscilação visível na roda enquanto ela gira. Também poderá ouvir o aro a roçar nas pastilhas dos travões num ponto específico da sua rotação. Outro indicador pode ser uma sensação “esponjosa” ou inconsistente durante a condução. Verificar regularmente os raios soltos, apertando-os suavemente aos pares, é uma boa medida preventiva. Se alguns estiverem visivelmente mais soltos do que outros, é altura de verificar a tensão dos raios e a centralização da roda.
Q4: Posso usar um kit de remendo padrão para uma câmara de pneu largo de bicicleta elétrica?
Sim, um kit de reparação de furos de bicicleta vulcanizante padrão funciona perfeitamente bem para câmaras de ar de pneus largos. O processo é o mesmo: localizar o furo, limpar e tornar áspera a área, aplicar fluido vulcanizante e pressionar o remendo firmemente. Dadas as pressões mais baixas nos pneus largos, um bom trabalho de remendo é muito fiável. No entanto, leve sempre uma câmara de ar sobressalente, pois muitas vezes é mais rápido trocar a câmara do que remendá-la no local.
Q5: O que faz com que os rolamentos do cubo se desgastem mais rapidamente numa bicicleta elétrica?
O aumento de peso e binário de uma bicicleta elétrica com pneus largos coloca cargas mais elevadas nos rolamentos do cubo em comparação com uma bicicleta não elétrica. Isto é especialmente verdadeiro para motores de cubo potentes. A condução frequente em condições húmidas, lamacentas ou poeirentas também pode acelerar o desgaste, forçando a entrada de contaminantes pelas vedações dos rolamentos. Isto torna a manutenção do eixo e dos rolamentos proativa crucial para evitar falhas prematuras e garantir a saúde a longo prazo das suas rodas de bicicleta elétrica.
Referências:
- Park Tool. (2021, 6 de abril). Medição e Ajuste da Tensão dos Raios. ParkTool.com. https://www.parktool.com/en-int/blog/repair-help/wheel-tension-measurement
- REI Co-op. (28 de setembro de 2021). Como Manter uma Bicicleta Elétrica. YouTube. https://www.youtube.com/watch?v=sp1SzbKxcWY
- Hycline. (26 de junho de 2023). Pressão Ideal dos Pneus para Fat Bikes em Diferentes Estações. Hyclinebike.com. https://hyclinebike.com/blogs/topics/optimal-tire-pressure-for-fat-bikes-in-different-seasons?srsltid=AfmBOorQMv5grhc3_qrid6u81RzCXVBScsAF6vQ2S-74ACHFdWhWW-xc